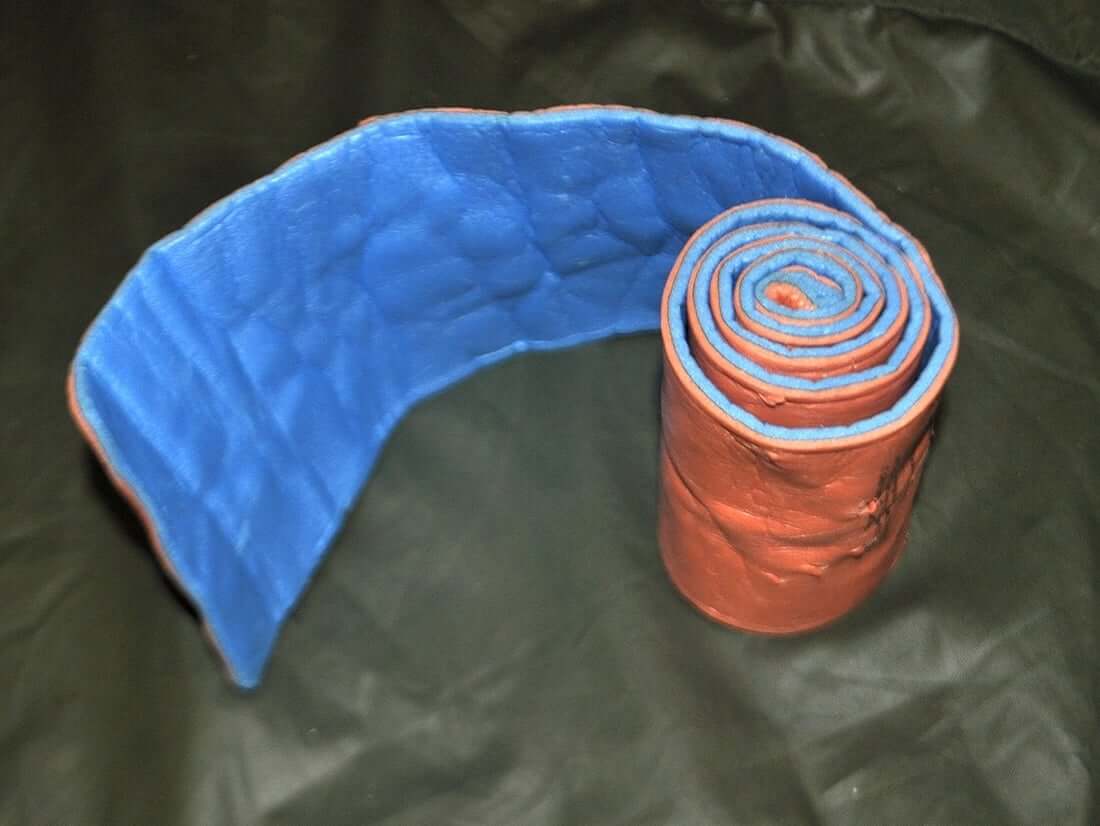
SAM splints are one of the most useful pieces of first aid equipment you can have in your bag. The reason for this is that their affordability, versatility, and portability are unmatched when it comes to on-the-go gear.
SAM splint uses can cover pretty much every common joint and bone injury you’ll see in the field. It doesn’t matter what the cause of the injury is, if it has to do with the bone, this splint can probably help.
To make things even nicer, you can use pretty much anything to hold one of these splints in place. Tape, bandages, t-shirts, you name it. Pretty much anything will grab the material quite nicely.
Because this is such a useful piece of gear to have, we wanted to put together a guide to help you get the most out of it. In this guide we cover the most common SAM splint uses and things to remember when using one.
Let’s get started.
Table of Contents
Things You Need To Know First
Before we get into the list of normal SAM splint uses, there are a few guidelines and rules to remember. A strong understanding of these will allow you to use it properly and address an injury properly.
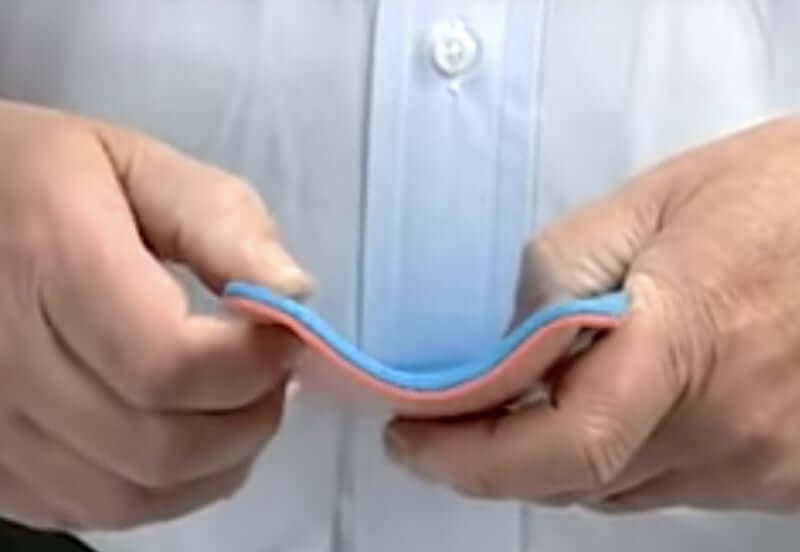
- Extremely moldable and soft enough to cut with ordinary household scissors
- Can be used to splint every bone in the human body
- Built from a thin core of aluminum
- Waterproof, Reusable, Compact, latex Free, Made in the USA
You’d be surprised how many people think they’re applying a SAM splint the right way, only for them to cause further injury.
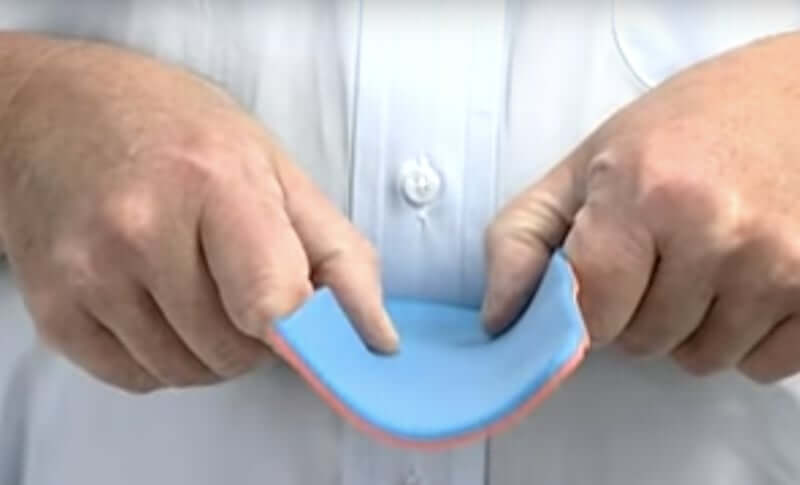
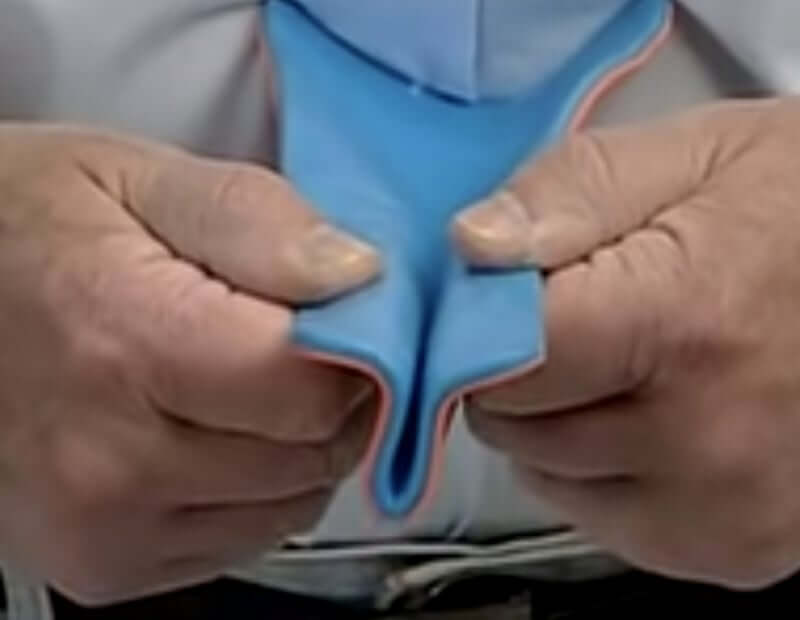
The Three Curves You Need To Know
Since the SAM splint gets its strength from the curve you mold into it, it’s important to know which curves provide the most strength. Failure to use these three curves will result in a lack of stability.
The C-curve is the most straightforward curve you’ll use with a SAM splint. All you have to do is make a bend lengthwise down the middle (it will resemble a mini halfpipe). This is a quick and easy curve that can be used on a wide range of limbs and body sizes.
The next curve you’ll want to know is the reverse C curve. This essentially looks like the basic C-curve but with the edges bent outward instead of continuing to follow the curve.
Lastly, the T-curve is the third curve you’ll need to know. This is definitely the strongest of the bunch and when you see it you’ll understand why. To make this curve you’ll fold the SAM splint in half lengthwise and then point the edges out at a 90-degree angle.
Other Tidbits To Be Aware Of
There are a few other things you’ll need to know about the SAM splint if you want to avoid mistakes.
First is all, this is a temporary splint! View this like a spare tire on your car. It’s good enough for the time being, but your goal should be to upgrade to something more sufficient once you’re out of the woods (so to speak).
It’s also very important to do the molding and bending before applying it to the injured area. This will take a little extra time to make it fit, but it’s the only way to do it. You don’t want to press on the injured area any more than you have to.
An injury that requires a splint is not like a massive cut. The amount of time you have to sort out the problem and get the injured person into the hands of proper medical care is significantly longer. This means there’s rarely an excuse for rushing or doing a so-so job when applying a SAM splint. Take a little extra time and do it right.
Always assess the injury before and after using a SAM splint. Make sure the injured person has feeling in the area, can initiate some small form of movement, and the injured area has color (indicating blood flow). If any of these isn’t there before or after using the splint you’ll likely have to remove it.
A common mistake that people make is wrapping it too tight. This can cut off circulation to the area and make matters way worse than they need to be. Focus on stabilizing the area without going overboard.
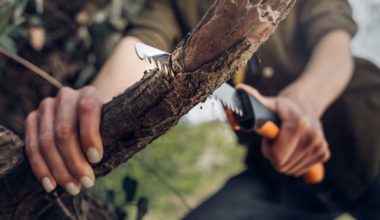
Quick Tip: Don’t forget that you can cut the SAM splint to make it fit a little better. This is one of the neat features of this product. Any knife or scissors will do the job!
Common Sam Splint Uses
Now that you have an understanding of the basic principles, let’s look at the most common SAM splint uses. These all address common bone and joint injuries that can occur from falls, crashes, and other forms of impact.
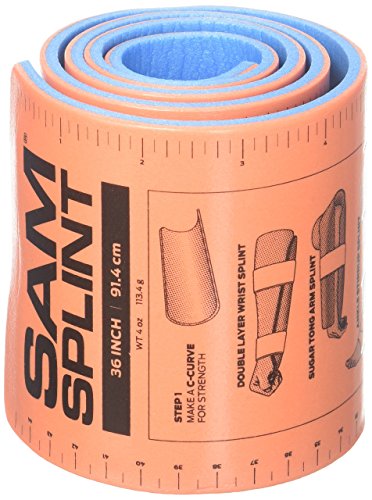
- Extremely moldable, yet strong
- Can be used to splint every bone in the human body
- Radiolucent (does not have to be removed for X-rays)
- Lightweight, Waterproof, Reusable, Compact, and Versatile
Finger – include thumb in here
To use a SAM splint on a finger you’ll need to cut it to fit the length of the injured finger. This will likely be a very small piece of the splint assuming you’re carrying a full-sized one.
You’ll commonly be making a splint to keep the finger straight, but in rare situations you might need to create one with a curve to accommodate the angle of a severely injured finger.
Make a C-curve that fits around the finger and pinch off whatever part of the splint extends past the finder. Next, use whatever wrap you can to go around the splint and secure it in place.
Ankle
Ankle injuries are another common use for SAM splints. Ankles get tweaked and sprained out in the wilderness all the time (because we’re awkward humans and not gazelles).
To use a SAM splint for stabilizing an ankle injury you’ll want to use the stirrup wrap method (or figure eight). This involves using the entire length of the splint, so don’t make any cuts.
You’ll need to place the foot of the injured person at the center of the splint and wrap one half over the top of their foot then around the back over their Achilles tendon. You’ll then repeat the motion with the other side.
This will create a sturdy foundation that will stabilize the ankle for you to wrap.
If you have another SAM splint handy it’s recommended to take another full-length splint and place the middle of it underneath their foot as you did before. Then make a reverse C-curve that will rest along the sides of their calve for more support.
Wrist
Broken or sprained wrists are another common injury that you can use a SAM splint for. Fortunately, it’s also a very simple splint to create.
First, take the splint and fold it in half to increase the strength and sturdiness. The edges should be where the hand is, and the bend should be near the elbow.
Take the edges and fold them down to provide strength and allow the finders to bend comfortably. A standard C-curve should be made in the main portion of the splint.
Once the foundation has been set, simply wrap around the forearm. You will need to wrap over the palm and between the thumb and index finger once you reach the hand. Be careful with that part!
Elbow
For the elbow, you should use the non-injured arm to measure the proper length if their arm will be set straight. The distance should extend from the armpit to the knuckles.
From there, fold the extra length back under itself and create a reverse C-curve. Keep the doubled up portion of the splint underneath the elbow for extra stability.
If you’re dealing with a bent elbow you should again use the uninjured arm for measuring proper length and distance. The first SAM splint should be placed against the outside of the upper arm (above the elbow) and the second should run along the outside of the injured forearm.
At the elbow, you should fold them to interlock with each other to provide stability. You will need to use a C-curve for this method.
Once everything is in place you should wrap quite aggressively (but not too tight) in order to help keep them together. This SAM splint technique is probably the one that’s messed up the most, so take your time and be sure it feels stable!
Neck
There are a couple of neck stabilization methods out there, but our favorite is the one that doesn’t block your view of the front of the neck. While this might seem a little less secure, it has significant medical advantages if more serious intervention is needed (and won’t obstruct breathing).
To do this, take your SAM splint and double it up by folding it over itself. Then create a bent fold in the ends that point opposite of the curve where the neck will be.
Once you have everything bent and ready to go, stabilize the head and gently slide it around the back of the neck. Once it’s in place use some form of wrap (ideally some kind of tape or thin bandage to hold the splint in place.
When doing this make sure not to cover the whole neck. Instead, leave the middle area open so you can observe the larynx if needed.
Knee – straight and bent
The last common SAM splint technique that we’ll cover is for an injured knee. We’ll cover both a straight and bent knee technique, but you’ll do similar steps at the beginning.
First, take two and fold them in half. You can do these with one splint by cutting it in half as well, but using two is a lot stronger. If you’re working with a straight leg it’s ideal to fan them out into a V shape to cover more distance.
Next, create a C-curve so it can cradle the sides of the knee and leg.
If you’re keeping the leg straight, simply tape or wrap both splints to each side of the leg and knee.
If the knee is bent you’ll want to fold the upper third of each so they can cross over the top and rest on the lower thigh just above the knee. This is the position that you’ll wrap.
Conclusion
As you can see, there are a number of techniques you can use when applying a SAM splint to an injury. Because of that, these are some of the most versatile and important pieces of gear you can have in your survival backpack.
To make things even better, they’re cheap! There’s no reason not to run out and pick one up right now. If you have one already, get more! You can never have too many in your prep room.
If you have any questions about different techniques or SAM splint uses, don’t hesitate to reach out. We love talking about this stuff and are always interested in hearing from other experienced individuals.