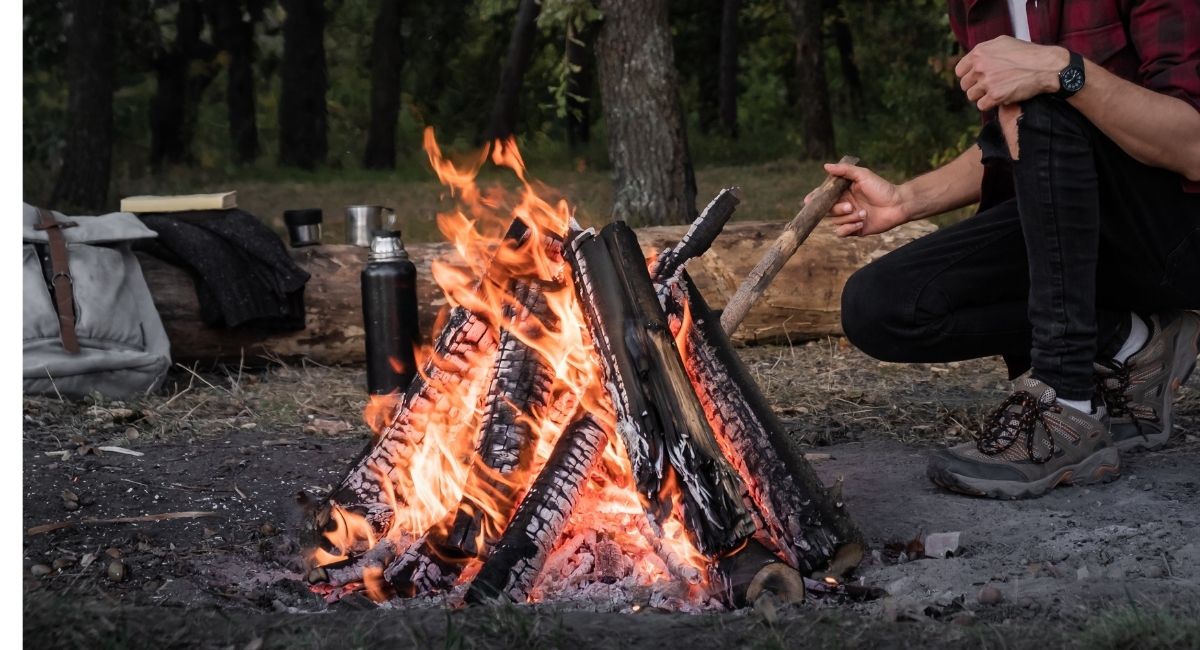
Every outdoor enthusiast knows how to make a fire in the wild with the right tools. After all, that is an essential survival skill. However, do you know how to make a fire in the wild with nothing?
While it might not seem all too important to know at this time, you may find yourself in a SHTF scenario where all you have about you are your wits and determination. At this point, being able to fix whatever elements are around you into flammable materials might prove to be a major lifesaver!
Again, keep in mind that nobody goes into the wild because it’s a predictable environment. Everyone knows that even when you’re well-prepared, an unanticipated event can throw you off balance.
So, in the interest of fully preparing for any and every survival situation you might find yourself faced with, here is all you need to know to start a fire without conventional tools like fire pistons and lighters.
How to Make a Fire in the Wild with Nothing
All the common methods to start a fire in the wild with nothing center on the same premise; finding a way to use sparks, the sun, or friction to ignite a flame.
However, before going into greater detail here, you must consider a few factors first. This is because these variables are ultimately what’ll determine which of these common methods will get you the best results.
Factors to Consider When Trying to Make a Fire in the Wild Without Conventional Tools
Although several very important variables come into play here, the two most important ones to consider are:
1. The type of wood piece or wood shavings available to you.
2. Your level of expertise when it comes to making kindling.
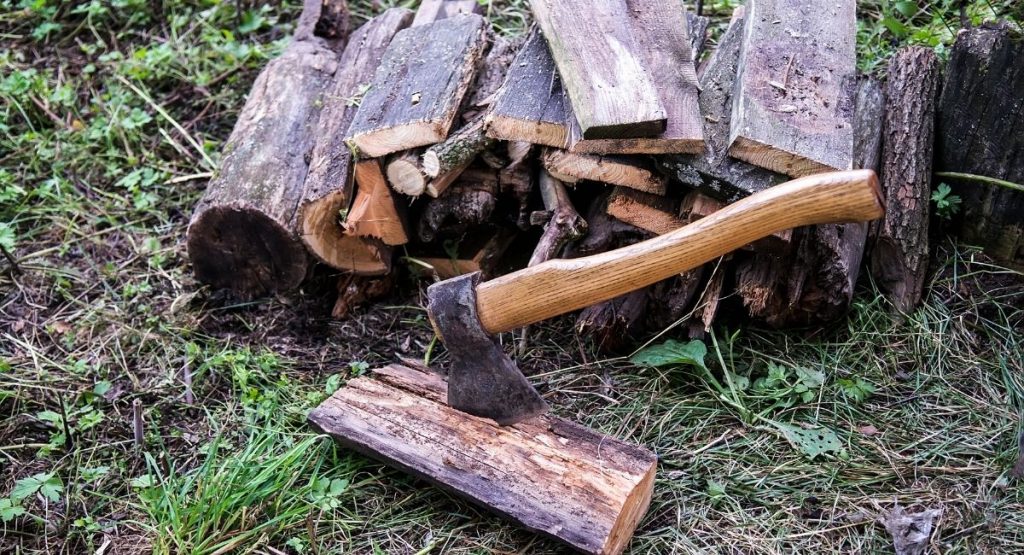
The Pieces of Wood Available to You
The kind of dry kindling, dry tinder, or bits of wood available to you in the wild can considerably impact how well you’re able to create fire without tools.
As you likely know, certain pieces of bark or wood tend to burn better than others. What’s more, some bits of wood still give you a good fire faster and more easily in wet conditions or cold conditions.
But, generally, if you want to start a fire without traditional tools like lighters and matches, you would need to scavenge the entire area for dry wood or dry bark as damp wood is very difficult to start a fire with.
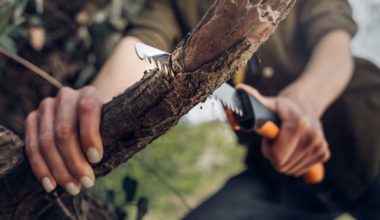
Your Ability to Make Kindling
Learning how to start a fire with almost nothing is one of the most fundamental survival skills you can learn when going into the wild. However, one skill you need to learn before you can master how to make fire with nothing is the art of making kindling.
Once you know how to make kindling perfectly, you’ve effectively overcome one of the problems you would face when making fire with nothing in a survival situation.
Keep in mind, anything that catches fire easily and quickly can be used to make kindling. This can range from dry kindling cloth to even dry grass.
When you have properly accounted for these two factors, you can now start learning some common methods you can use to start a fire in the wild without a thing.
Method 1 – The Hand-Drill Method
This is arguably the most primitive method of starting a fire in the wild with nothing. Also, be prepared as it’s also one of the toughest methods you’ll learn as well.
However, the sole consolation with learning the hand-drill method if you want to know how to make a fire in the wild with nothing is that it’s also highly reliable. After all, primitive method or not, it’s been in use for centuries.
To make the hand-drill method work, you need three things; a spindle stick, a fireboard, and gritty determination and stamina.
The gritty determination and stamina are necessary because you need a certain amount of friction to make this method. So, know that you’ll get a little tired using this primitive method. And, be ready to forge ahead regardless.
Using the hand-drill method isn’t complicated. Here’s how you can do it in 5 simple steps.
Step One – Build Your Tinder Nest
The quality of your tinder nest is of the essence here as it’ll be what catches the flames once you manage to create an ember with your spindle stick and flame board. As such, your tinder nest must be made of dry material that can be easily ignited.
Step Two – Make a V-Shaped Notch on Your Fire or Flame Board
The next step in the process of making a fire with the hand-drill method is to make a small, precise, v-shaped cut on the fireboard.
Also, when making this v-shaped notch on your flame board, make sure that there’s just a little depression close to the point you made the board notch.
Step Three – Find Good, Dry Tree Bark and Position it Directly Under the V-Shaped Notch
Getting dry bark and placing it directly under the board notch is a very crucial step. The reason for this is that the small, flat piece of wood or bark is vital for properly forming the ember you want.
Step Four – Applying Friction with Your Spindle Stick in the Depression near Your Board Notch
Remember that gritty determination and stamina we talked about? Here’s where we put it to use!
The penultimate step of creating fire with the hand-drill method requires you to spin your spindle stick continuously and vigorously near the depression of the v-shaped cut. Be warned that this process can zap a considerable amount of energy very quickly and tire you out.
So, you have to be ready to tough it through.
During the spinning process, make sure that you spin fast while maintaining the same amount of pressure between the spindle stick and your fireboard. That’s the only way you’ll be able to create the ember your tinder nest will catch.
Step Five – Move Fast the Moment You See an Ember
After spinning your spindle stick for a little while, you’ll see an ember. At that moment, tap your board fast and lightly, letting the ember land on the dry piece of bark you earlier positioned.
Next, quickly move the dry piece of bark with the ember still lit and nestle it in your tinder nest of dry and flammable materials.
Finally, blow gently on the tinder nest till a flame grows and you’re done!
Method 2 – The Bow Drill Method
The bow drill method is another tough way of starting a fire without the usual resources. That being said, you’ll be pleased to know that it doesn’t require as much effort to execute.
However, one thing that may be considered a downside with using this method of approach is that it does require you have certain materials on hand if you want to carry it more easily.
But, once you have gathered all the necessary materials and you have the needed objects for the bow drill method, you’ll quickly discover that you’ll be able to manage just fine with it!
Here’s what you need to know to execute this survival skill like a pro.
Step One – Find Any Object You Can Easily Use as a Socket
Finding something you can readily use as a socket is very important because you need the piece of equipment to find a bit of pressure.
The setup of the bow drill method requires that downward pressure is applied from one end of the spindle stick as you start the spinning process with the use of the bow.
The good news is that the socket can be fashioned out of almost anything, from stone to certain pieces of wood. Just remember, when using a wood socket, make sure they are slightly larger pieces that are firmer than the wood pieces used as the spindle.
Step Two – Look for Objects that can be Made into a Bow
The best material for this exercise is a long and flexible flat piece of wood. Also, this wood piece should be slightly curved.
Finding a wood piece that meets these requirements is likely going to take some time. But, in the long run, it’ll ensure your fire-making process goes off less stressfully.
Once you get dry wood that fits this description, your next mission is to find something you can use as a string. If you like, you can use your shoelaces here as you won’t have to go too far to get those.
Step Three – Create a Fire or Flame Board
This step is similar to Step Two for creating fire using the hand-drill method.
Just get your fireboard, make a v-shaped notch on and ensure that you create a depression close to this angular notch. As you now know, this is important as it’s where you position your nest of tinder.
Step Four – Connect Your Spindle to Your Bow
The next thing to do when adopting the bow drill method is to attach your spindle to the bow.
You do this by placing the spindle in a loop positioned in the string of your bow. Next, place one end of the spindle in the angular notch of the fireboard. All the while, make sure that you’re applying downward pressure with the socket to the other end of the spindle.
Step Five – Move the Bow in a Sawing Motion
This last step is better executed with two people. The sawing motion of the bow will cause the spindle to move like a mechanical drill bit. As it rotates quickly against your flame board, embers will slowly emerge.
At this point, you can drop it in your nest of tinder fashioned from dry plant material or other sources and you have a flame!
Method 3 – The Jerry Rigged Flint and Steel Method
This is another great way to learn how to make a fire in the wild with nothing. This particular method is more ideally suited for explorers who flint and carbon steels with them when they enter the great outdoors.
Granted, going out with flint and a chunk of steel seems a bit outdated, to say the least. However, your flint and carbon steels have one clear advantage over certain conventional methods of making fire. Like matches, the flint and chunk of steel don’t become useless in cold conditions or wet conditions.
Now, in the event you don’t have flint and steel with you, there’s a way you can improve and still use this method.
How to Improvise the Flint and Steel Method
When you’re out in the wilderness without tools and a fire must be made, you can look for a piece of quartzite. Once found, you can replace your steel striker with the carbon steels readily found on any carbon steel knife.
Next, hold the quartzite and fungus from trees firmly in one hand. Make sure that you grip the rock tightly in the space between your thumb and your forefinger. Also, the sharp edge of this rock has to stick out by more than an inch wide.
With the fungus from trees positioned with the quartzite, start striking the stone against the carbon steel knife blade. A few good tries will create sparks that’ll land on the fungus.
This you can place in your nest of tinder and blow gently on until a flame erupts. You can alternatively also carry out this process with a fire-starter stick if you happen to have yours around.

- Strike Count: Our high-performance Sånft-korr blend delivers consistent ignition across models— Zünden Original & Pro Natural reach up 15,000 strikes; Pro Black Top gives up to 12,000 strikes; Pro Alotta Colada & Seawall: 20,000 strikes.
- Sized for Survival: Rugged yet portable— Zünden Original & Pro Natural: 3/8" thick rod; Pro Black Top: 5/16" thick; Pro Alotta Colada & Seawall: 1/2" thick. All fit easily in your pack, designed for every adventure.
- Functional Striker: Zünden Pro Natural features the innovative AmbiStriker for ambidextrous use, while the Original and other Pro models come with a multi-tool including a fire striker, tinder scraper, map scale, ruler, hex wrench, and bottle opener.
- Convenient Handle & Lanyard: Each Zünden fire starter comes with an ergonomic handle for a secure grip and a lanyard that keeps the striker securely attached to the fire starter, ensuring they stay together and are easy to carry.
Method 4 – The Fire Plow Method
This method of fire creation in the wilderness is most similar to the hand-drill method with just one minor deviation; how the fire is started.
Here, you need a spindle, a flame board, and a dry tinder nest. Also, you need to make a board notch. However, instead of making an angular notch, this one should be shaped more like a groove.
The reason for this is that the fire created in this process will be used more like a track for your spindle stick. Because of this, there needs to be enough room for your spindle to move around freely.
Avoid damp wood. Also, the dry wood that you use for this method should be a piece of dry rotten wood from trees like juniper, hibiscus, or cedar. Next, cut your groove, a 6-inch wide mark, right into the middle of the rotten wood.
You’ll need another piece of rotten wood or bark here. This should be a 2-inch wide piece of wood that possesses an angled head. That’ll be your spindle or “plow” here.
The next step is to position the tip of your spindle or plow at precisely 45º on the flame board groove you earlier cut. You do this in a precise back and forth motion until you see the flames burst out.
This is unlike the spinning spindle motion that’s necessary with the hand-drill method. Due to its unique movement, the embers created from this method are effectively plowed straight in one direction.
As such, your tinder nest must be well-positioned to catch those embers at the end of the flame board.
Once you notice you’ve got a flame, don’t work to blow gently until the fire kicks in and gets going properly.
Method 5 – The Ice-Fire Method
So far, we’ve talked about making fire under your regular wilderness conditions. However, what if you have to get warm in icy or extremely cold weather conditions?
Well, you’ll be happy to know that creating fire from ice is one of the easiest things you could do!
To make this method work, you need two items: a clear block of ice and a good knife. The purpose of the knife is to help you shape the ice block properly into a lens.
As is only to be expected, in some cases, a clear block of ice may not be readily available. In these instances, you could simply fill a bowl with clear water from the lake and wait for it to freeze over. Depending on how cold the temperature is, you may not have to wait long.
Once the water is frozen, use your trust knife to sharpen its edges carefully until you’ve created a lens. Alternatively, you could also use your hands to polish the edges of the block of ice.
After you’ve made the lens, hold it out directly against the sunlight. While doing so, ensure that you angle the lens such that the beam of light from the sun is directed towards your nest of tinder.
After a short while, you should notice a spark and smoke coming from the tinder nest as a fire ignites!
Method 6 – The Traditional Lens Method
If Method 5 is a lens-based method of getting fine in cold and icy weather conditions, then the traditional, magnifying lens method is the approach you use to create fire under more normal circumstances.
Have you ever seen a friend use a magnifying lens or glass to burn leaves? This is the same thing!
Just like with the previous method, you need two items here; some good lens and a direct source of sunlight.
The purpose of the lens is to concentrate and channel the beam of light into a specific spot. Now, before moving forward, keep in mind that you don’t need a magnifying glass exactly for this method.
You would fare just as well using your binoculars or eyeglasses.
What’s more, you can intensify the beam of light from the sun. All you have to do to have this is add water to all the lenses and let them catch the rays of the sun. Through it all, be sure to keep the beam of the light focused on one specific spot as much as you possibly can.
When you position your nest of tinder at the other end of the rays of the sun through the lens, you can get your fire started with a little patience.
That being said, there are two potential drawbacks to using this method. The first is that it is heavily reliant on proper sunlight to work. Secondly, there mustn’t be foliage impairing the full rays of the sun from shining down.
So, if you’re in the wild at night time or you happen to be in a heavily shaded forest, this method of creating a fire isn’t likely to do you much good.
- This 3 Pack of Best Glide ASE Fresnel Lenses is approximately 2" x 3.5" and comes in a protective sleeve. It is made of Optical PVC and weights less than an ounce.
- 4X Magnification - The Best Glide ASE Fresnel Lenses provide up to 4X Magnification to make it easier to read small print or in low light situations.
- Emergency Fire Starter - The Best Glide ASE Fresnel Lens works as a survival fire starter on sunny days to light your tinder.
- Compact - The Best Glide ASE Fresnel Lens will fit in your wallet, your purse, and certainly a survival kit.
Is Friction Fire Making the Best Way to Create a Fire Without Traditional Tools?
You may have noticed that a considerable number of the methods used to create fire without lighters or matches are based on the effects of friction.
Naturally, this might lead you to wonder, is using friction the best way to create fire when you’re in a tough survival situation?
When prepping for your next outing, the first thing you need to note is that friction-based methods are very difficult to implement. However, one major edge they have over other approaches like lens-based fire creation processes is that they aren’t as restrictive to implement.
Outside the significant amount of energy you would need to expend to get fire with a friction-based approach, the most important thing you have to deal with is your choice of combustible materials.
What this means is that your job can be made easier or more difficult by the type of wood you use most of these methods on. The task is significantly easier to execute when you use the right piece of wood for your spindle stick and fireboard.
With this in mind, some of the best wood pieces friction-based fire creation process works on include cypress, willow, walnut, juniper, and cedar.
Final Thoughts
Learning how to make a fire in the wild with nothing may seem stressful, and it is. But, it is one essential survival skill that just might save your life one day. While most of these methods demand you invest some serious energy into making them work, knowing it can prove invaluable.
And, remember, as with all things, practice is important. It might take a few tries at first. But, given time, you’ll get better at it!