Sometimes, things just don’t go as planned. When you’re out in the wild trying to survive and you run out of seasoned wood, knowing how to burn wet wood can make all the difference!
As such, we believe that in addition to prepping with the right resources for survival in the wilderness, understanding wet wood burning can help you make a difficult situation much more bearable.
With that said, here is a concise rundown of all that goes into making a good fire with wet firewood.
How to Burn Wet Wood
Most people understand the mechanics behind starting a fire with seasoned wood in dry conditions. Dry firewood tends to also give off a clean burn and high heat output.
However, the situation becomes different if all you have in your hands is unseasoned wood or if the dry firewood has taken in excess water due to the wet conditions.
Not to mention, if you’re in very wet conditions, your matchbox might’ve gotten soggy and your butane lighter mightn’t be working as well as it should.
What all of this translates to is that you’ll need to be extra prepped if you plan to burn wet firewood or unseasoned wood with high moisture content.
In order to prepare for these situations, learning a few things first is key.
What Exactly is Wet Firewood?
As a survivalist, it’s important you note that not all forms of wood are ideal for use as burning, even in dry conditions. What’s more, if the burning of wood is to generate the required heat output and proper clean burn, it must possess certain attributes, one of which is a very low moisture level.
Now, when freshly cut, any type of wood will contain a high moisture level. The quantity of excess moisture in wet firewood, green wood, or unseasoned wood can be measured using a moisture meter.
However, not all forms of wood possess the same moisture content level. The amount of excess water or excess moisture content level found in different pieces of wood is often determined by four factors.
These include:
- The species of wood and the health of the tree it was taken from.
- What time of year the wood was cut.
- The type of wood in question.
- If the moisture content level has been given time to dry before it was tested.
What is Considered Wet Firewood?
Sometimes, because you didn’t pick up the pieces of wood in extremely cold and wet conditions or on very moist ground doesn’t mean you have dry wood on your hands.
According to major regulatory bodies, like the Environmental Protection Agency (EPA), wet firewood is any type of wood that possesses more than 20% moisture content level.
Also, any stack of wood that still contains excess moisture and hasn’t undergone the drying process can also be referred to as unseasoned wood.
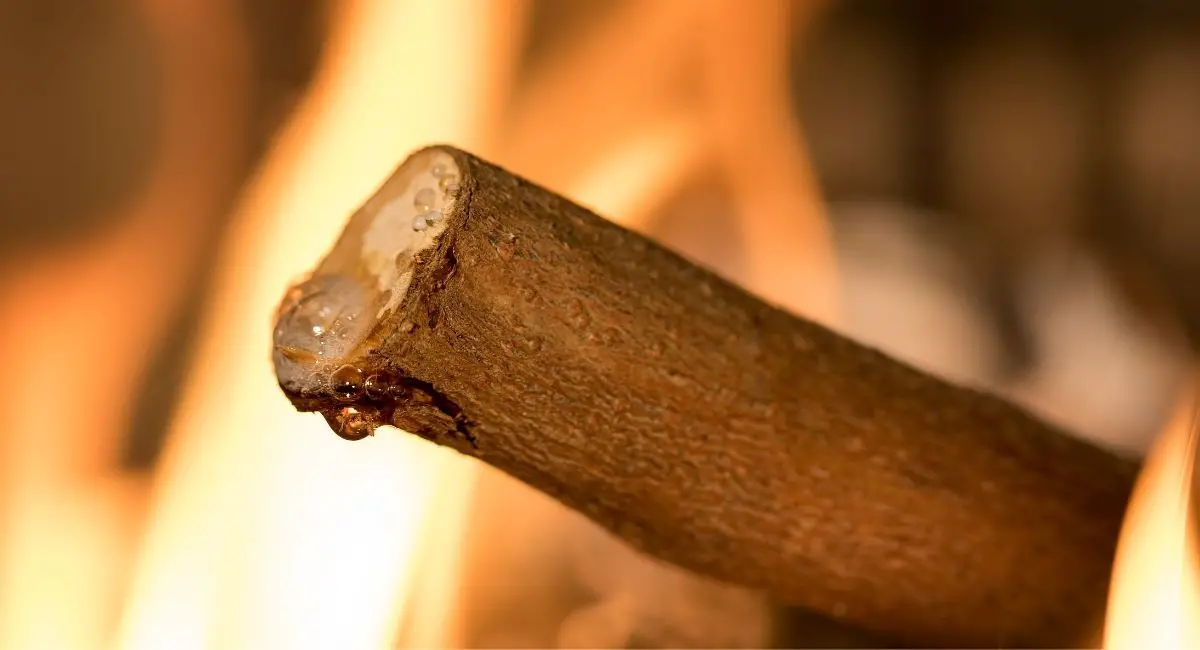
Moist wood with above 20% moisture content makes for a poor source of heat as they don’t burn properly. So now, we’ll look at efficient ways to make virtually any type of wood with high water content burn easily!
How to Burn Wet Wood Like A Pro
Burning wet wood isn’t difficult, but it does require a considerable amount of time and effort to carry out. To make the process a simpler one, here’s a concise, 7-step guide you can follow on how to burn wet wood of any type with relative ease.
Step One – Search for Small Twigs and Medium-Sized Logs of Wet Wood
A crucial part of wet wood burning is the size and thickness of the wet firewood. For example, finding thicker, larger branches, even if they’re on wet ground, is often good. Moving forward, you’ll see why that’s so.
After you’ve gathered a good stack of small twigs and larger branches, you’re ready for the next step.
In your search, even if you’re on wet ground, one thing that can help with your search is to look around the base of thicker trees. Also, make sure that you avoid picking green wood or leaves at this point.
For your pile of tinder, you want pine needles and old bird nests that are as thin as possible. This helps you prevent flammable creosote build-up and gives you a clean burn.
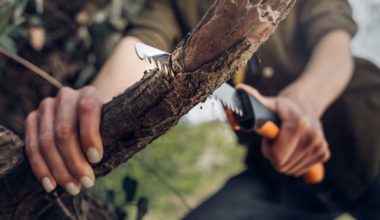
Step Two – Shave the Bark off the Wet Firewood and Try to Dry Your Kindling
This is why finding larger branches is important. In many cases, moist wood tends to be a lot drier on the inside. And, the thicker the wet wood in question is, the higher the chances of finding dry firewood inside it.
Here, all you have to do is use a sharp knife to shave off the wet areas of the moist wood or seasoned wood.
For the kindling, chip away at the pieces of wood until you have something that resembles matchsticks. The benefit of wood chips like this is that it catches fire quicker.
Step Three – Make a Stone Base to Keep the Fire off Moist Ground
While it is possible to make a fire on wet ground, it can be a herculean task. So, to make everything easier for you, avoid moisture-visible and damp floor areas.
The best way to do this is to build a stone base or rock foundation. Doing this has two important benefits. The first is that it’ll make the fire much easier for you to start. The second is that it encourages increased air flow under the wood. This does a lot to speed up the ignition process.
Step Four – Arrange the Small Twigs in a Kindling Teepee or Cone Formation
The stack of wood formation you employ also matters a lot here. Different methods of stacking firewood apply to different situations.
When it comes to burning wet wood in bad weather conditions, the stack of wood systems you want to follow is the cone or kindling teepee.
This is because this particular design directs all the flame to a single point. As a result, more pieces of wood dry faster, giving your more solid fuels faster when compared to other stacking formulas.
With this method, you simply need to place your smallest twigs first, then move outward and upward as you overlay progressively larger branches and twigs.
Step Five – Put an Incendiary in the Pile of Tinder or Twig Cone and Ignite
If you happen to have Vaseline saturated cotton balls or other incendiaries like duct tape rolls in your tinder kit, you can use these to promote the efficacy of the wet wood burning process.
When you have resources like these available, you can simply put them at the core of the cone to help the fire burn brighter.
However, in cases where you don’t have access to such items, you can use the driest and thinnest twigs you find as the core. Alternatively, corn chips, pieces of cloth, or paper can serve as a good substitute as well.
Step Six – Use a Larger Kindling Teepee to Support the Growing Flames
As the flames begin to take hold, the next thing you have to do is slowly start adding larger branches and logs to the fire in a tepee formation.
While doing this, don’t forget to put in the larger branches with the split-face first into the fire. Also, ensure that you position it closer to the center of the cone.
Step Seven – Put in Your Medium-Sized Logs Once Embers Have Formed at the Base of the Fire
At this stage, the fire should’ve been going a bit strong. However, because of the type of branches you’ve been using so far, you’ll be burning through your solid fuels quickly.
So, what you need to do is start adding medium-sized logs to the fire when you spot embers at the base wood. It’s important to wait until a sufficient bed of embers has been made because the fire might die otherwise.
And with this, you know how to burn wet wood anywhere!
Note to Survivalists
Although this process might seem straightforward, it isn’t exactly easy to execute the first few times. So, if you think you haven’t got the hang of how to burn wet wood, don’t hesitate to start practicing how to burn wet firewood today.
Not being able to get seasoned wood burning during a casual camping trip would be no more than annoying at best. The situation changes drastically if you’re fighting hypothermia in the backcountry.
Due to this, you can’t overestimate the importance of learning this survival skill.
To further help with this exercise, here are a few unseasoned and seasoned firewood stacking methods you can employ.
Firewood Stacking Methods to Know
Air flow and a tight enough structure are essential if you want to get a proper combustion process. This is more so the case when you’re in cold conditions. In addition to this, how you stack wood is very important, even when you use seasoned firewood.
Knowing this, here are some stacking methods you can use to optimize the combustion process and get a good source of heat.
The Lean-To Method
This is a method of stacking wood that’s more favored by people who don’t want to keep adding to the fire or wood stove. When you have removed the damp parts and wet sections from a good-sized log of wood, place it at the center of your fire ring.
Next, lay your tinder nest at one of the long. Once done, add various pieces of kindling to the pile as it is leaned against a larger log. Leave the sides of the pile of tinder open as you promote increased air flow with this.
Finally, ignite the tinder and the fire should continue to grow on its own.
The Teepee Method
Another very effective process, this stacking method involves placing your nest of tinder in a pile situated at the center of your fire ring. The teepee is then built out with the kindling leaning against the pile of tinder. However, you have to make sure that you don’t place them too close to each other.
Finally, ignite the tinder nest and continue to add larger pieces of wood in progressive order as the fire grows. Throughout this stage, ensure that enough space is left such that air flow isn’t impeded and air can easily come in through the bottom.
The Log Cabin Method
Similar to the other methods described, the log cabin method of stacking wood requires that you lay a nest of tinder in the center of your fire ring.
From there, you need to lay strips of kindling about that pile of tinder in the shape of a square. You’ll have to repeat this process, but this time the strips have to be placed perpendicular to the first layer. You should do this till a square is formed that’s as tall as your pile of tinder.
Next, you have to use a few more strips of kindling to create a box over the top of the tinder after which you ignite the tinder through a small space or gap in the kindling. In only a few minutes, the log cabin will go up in flames.
While this design does generate high heat output, you must stack the wood loosely so that maximum air flow occurs.
The Dangers of Burning Wet Wood
Knowing how to burn wet wood can indeed save your life, however, you should know that it also constitutes a health hazard.
Outside flammable creosote production, it negatively affects air quality as well. Also, it has a poor burn, especially when compared to what you get with seasoned firewood. As such, make sure you only use it in extreme cases only!
Final Word
Now that you know how to burn wet wood, you’ve become a more complete survivalist. But, as you know, the rules of the wild are constantly changing. So, why not pick up more valuable survival skills before your next outing? You’ll be glad you did!